Initially I wanted to make a lether paunch but later I changed my mind to a lasercut plexi housing.
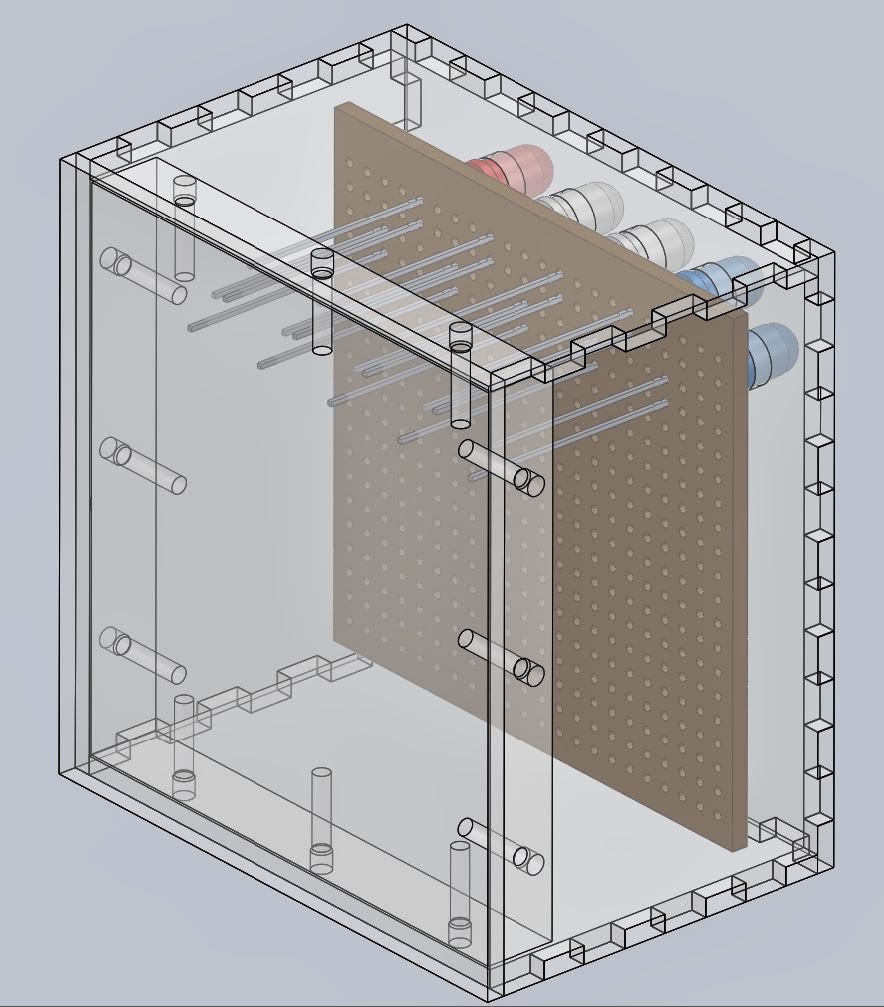
The design was made in a 3D CAD software.
At first, I modeled the board with the leds on it and built around it the housing.
 |
| Flashlight front |
 |
| Flashlight back |
I tried to make it sturdy and as much as possible watertight.
The sides of the housing are made of 2 mm plexi and the back is 8 mm, because it was necessary to drill holes in it's thickness and will need to support the weight and the vibrations of the electrical part.
The sides are assembled toogether by 5 mm tooths.
When you design them, also consider atleaset 0.1 mm tolerance.
This is how all the parts look printed out, notice that there are holes made on the sides for the switches and screws. The back will need to be drilled, after they're glued toogether.
 |
| Lasercut parts |

Housing front

Housing back
So here are two low quality pictures with the flashlight finished.

Finished flashlight

Finished flashlight front
If you liked the project please follow... next one will be a GoPro here like action camera.
No comments:
Post a Comment