I started by removing the leds from the breadboard and assembling them to the prototyping board.
Be carefull about the layout of the leds, not to mix the colors.
 |
| LED layout |
 |
| LEDs soldered toogether |
After all the leds were in place, I added the 470 Ohm resistors to each led, welded one leg to the (+) of the led and left the otherone free for now.
 |
| Resistors |

Board back
After the resistors were in place, I added the controller. Need to be carefull to leave enaugh space for the other components (programing interface, switch, 5v regulator, etc.) and also place it in a way so that the connections are easy to be made.

Controller in place

Resistors connected to controller pins
After the controllers position is defined and the pins soldered to the board, I added the connections for the programming interface (to make it possible to change the software from the controller), for the batteries and the switch.
The interface for the batteries must be connected to the 5V regulator and the capacitors between VCC and GND bouth before and after the regulator. Basically the same connections must be made as on the breadboard.

Board front, almoust fini

Connections on the board back
After all is soldered toogether, I just quickly connected a batterypack and a switch to test the flashlight if it still works :)

Board testing
Now that it works, I can proceed with sealing the electric connections with silicon glue, and also adding the battery pack.
Battery pack added
After the glue dried, I removed all the extra and also cut down the side of the board that I was not using.

Additional material cut down

Additional material cut down
Lastly I added the kill switch and the mode selector switch.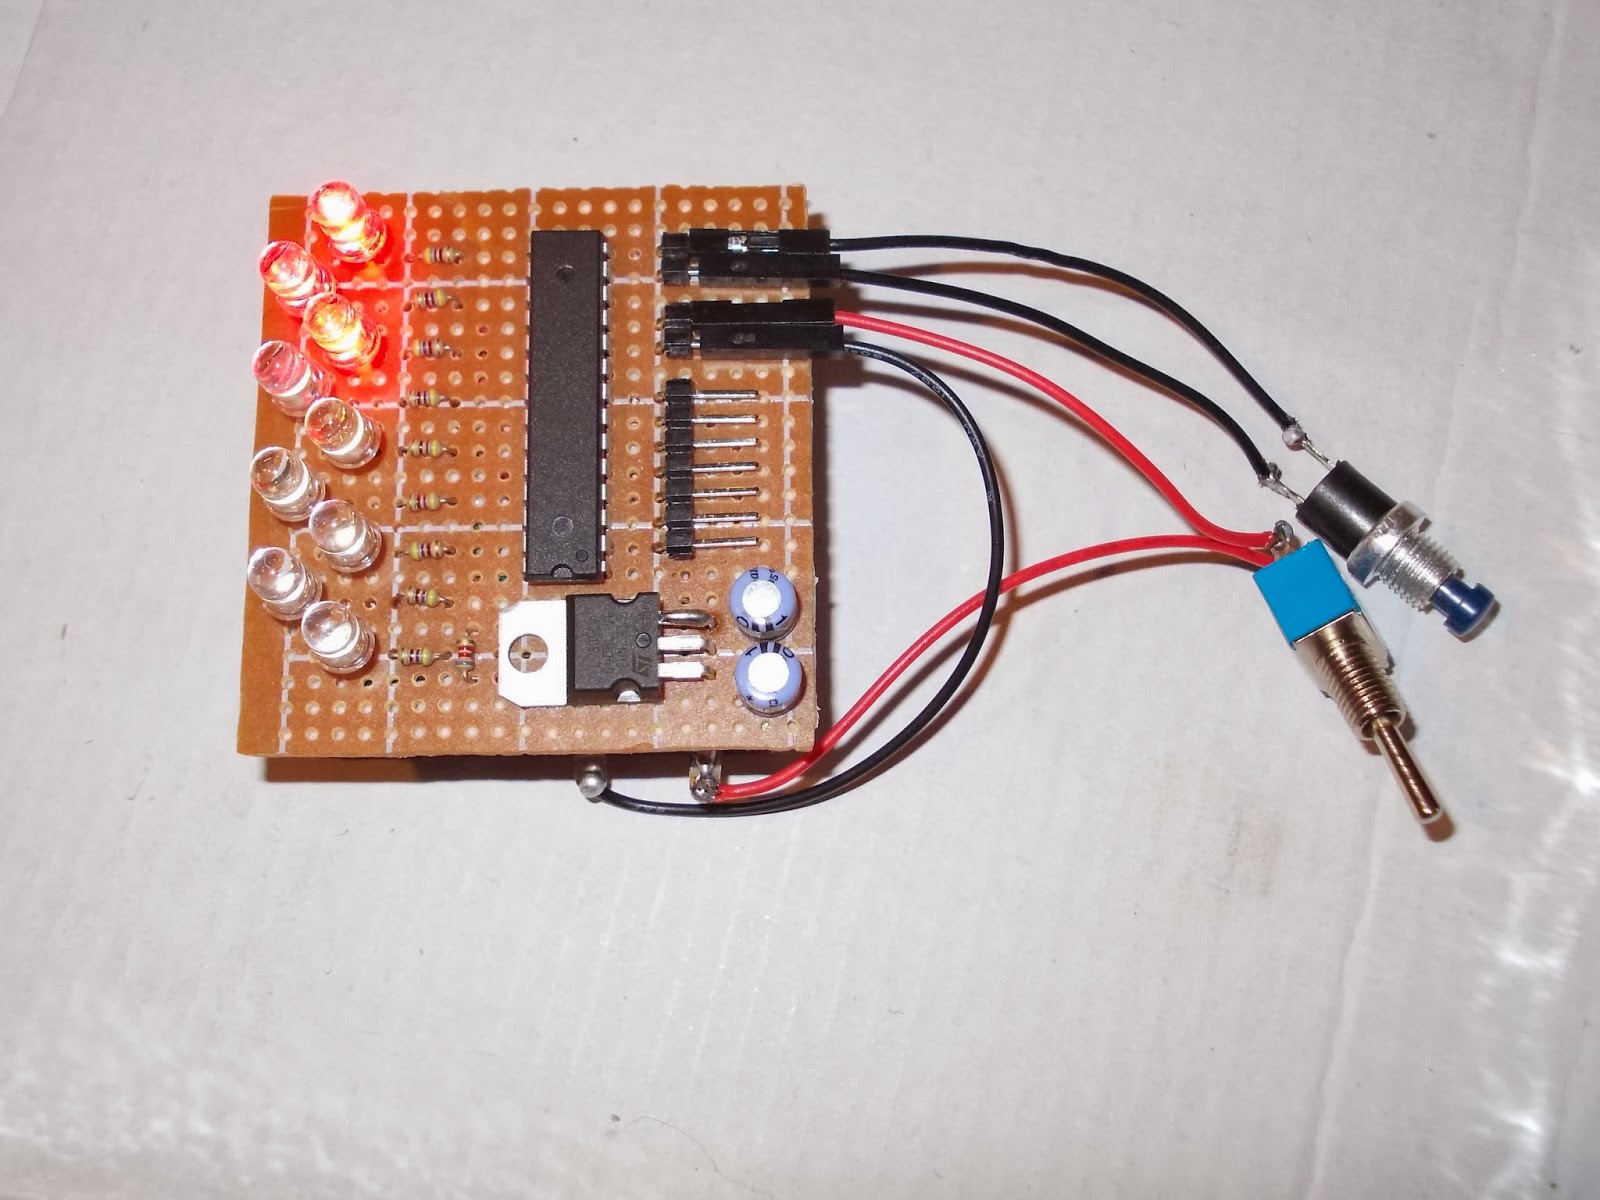
Finished flashlight, wating for a casing
In the next part I'll write about the casing... stay tuned :)
No comments:
Post a Comment