Friday 21 February 2014

Bicycle flashlight #4 - Flashlight casing

Ok... we have all the electric part, the flashlight works, but we need a way to fix it on the bicycle.
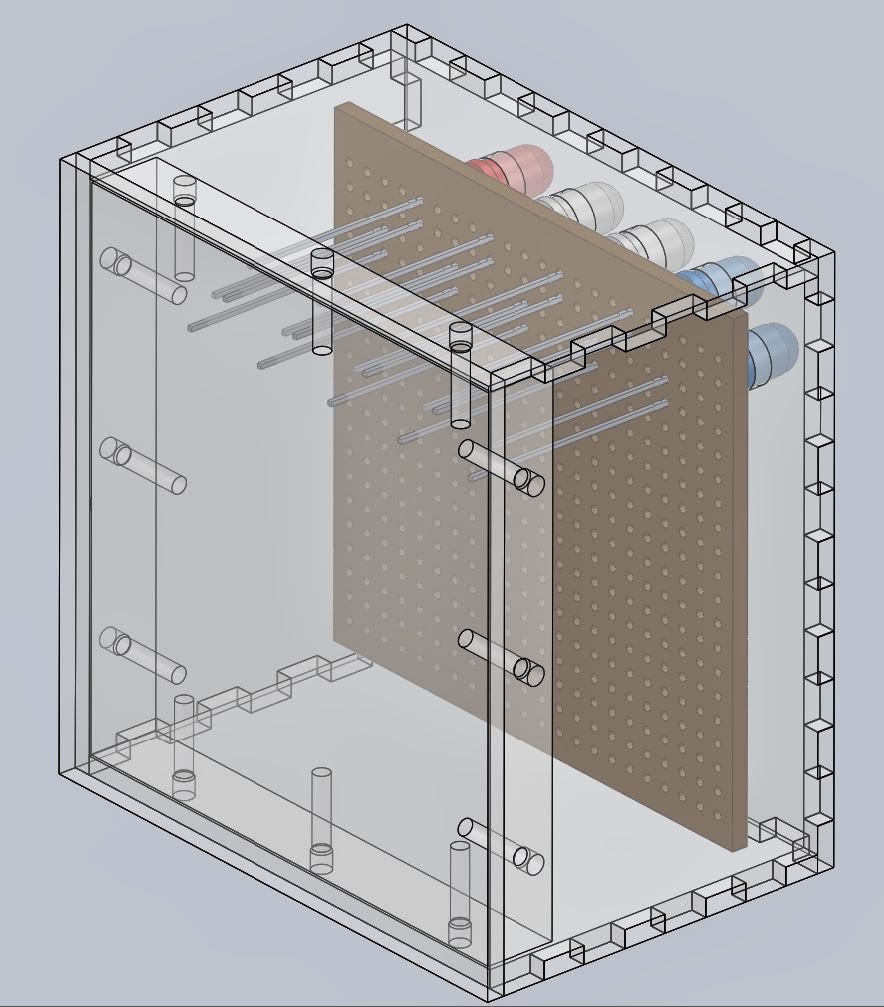
Initially I wanted to make a lether paunch but later I changed my mind to a lasercut plexi housing.
The design was made in a 3D CAD software.
At first, I modeled the board with the leds on it and built around it the housing.
Flashlight front

Flashlight back

Thursday 13 February 2014

Bicycle flashlight #3 - From prototype to final product

In this article I'll show you the moving from prototype to final product.
I started by removing the leds from the breadboard and assembling them to the prototyping board.
Be carefull about the layout of the leds, not to mix the colors.
LED layout
After every additional led was assembled to the board, it's (-) legs were soldered together, so that at the end we would have a GND rail.
LEDs soldered toogether

Wednesday 12 February 2014

Bicycle flashlight #2 - Software

In the second phase of the bicycle flashlight project I'll describe the software loaded on the micro controller.
The program is writen and compiled in microPascal, and the machine code is loaded on the controller with AVRDude.
All the text small font size and dotted, is part of the code and part of one single program file in the sequence they appear in this article.

1) The first part of the program is a description, containing title, revision, author, date, etc.
  • // Project Bike_lamp, revision 01, Gaal Alexandru, 09.01.2014
  • // Bike flashlight project with 7 ligthing modes
  • // Mode 1: Police light
  • // Mode 2: Blinking red light
  • // Mode 3: Constant red light
  • // Mode 4: Blinking white light
  • // Mode 5: Constant white light
  • // Mode 6: Blinking blue light
  • // Mode 7: Constant blue light
All the text that is after the "//" characters are considered comments.